Adding Sponsorship Profiles
REACH allows you to manually add your sponsorships into REACH or to import multiple sponsorships at once.
Before adding sponsorships, make sure you have first set up your sponsorship custom fields and your sponsorship types.
You can import all your sponsorships into REACH at once from the Data Import/Export Module. See the Sponsorship Import article for instructions on the import process.
OR
You can individually add, update, and manage your sponsorships in the Sponsorships Module.
To individually add a new sponsorship to your program:
- From the left sidebar go to Sponsorships > Sponsorships
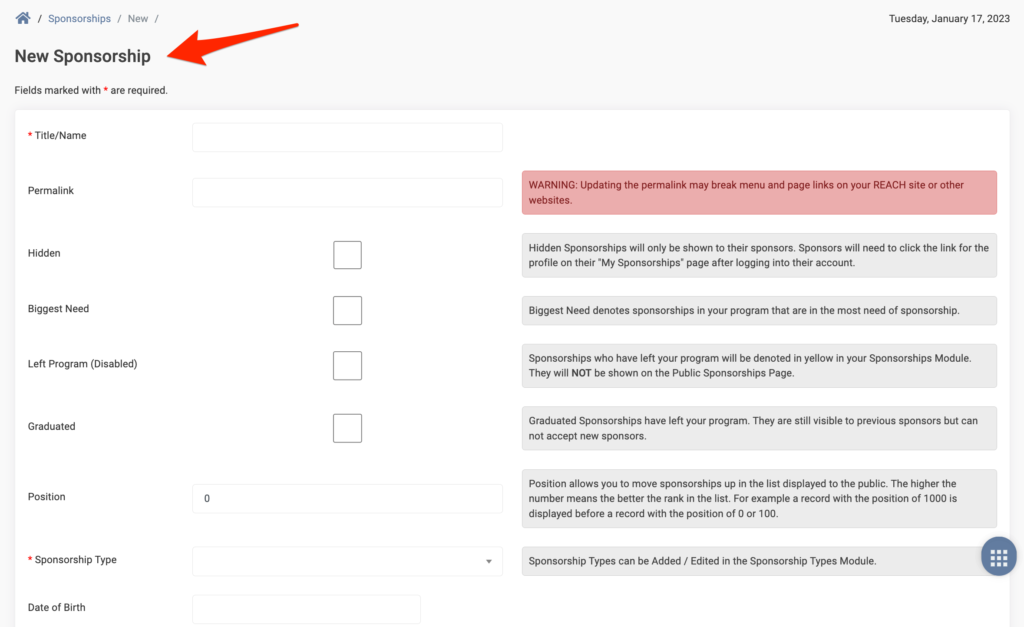
- Click the New Sponsorship button
- *Give the Sponsorship a Title/Name
- Note: For child protection and privacy measures, you can use alpha and numeric characters for the Sponsorship Title instead of using the sponsorship’s name
- Check if Hidden, Left Program (Disabled) or Graduated (Refer to our Sponsorship Classifications article to learn more)
- Denote as Biggest Need (Refer to our Biggest Need Sponsorships article to learn more)
- Assign a Position (Refer to our Sponsorship Account Rules to learn more)
- *Choose your Sponsorship Type
- Add a Date of Birth
- Note: Due to privacy concerns, REACH does not display the birthdate publicly. Instead this will be shown as Age (example: Age: 6).
- Assign to any Project or Place they are connected to
- *Add a Sponsorship Image (refer to the article for specifics on image sizing and importing single and/or multiple images)
- Note: While not required to save your sponsorship, a sponsorship record will not be displayed on your public page without an image. If you do not have an image available, or if privacy and security is a concern, we suggest you use a placeholder image.
- If needed, enter an External Reference ID.
- Most commonly, this field is used for a student ID or an ID assigned from a previous sponsorship system
- Add a Description
- Information you add in the Description box will display on the public portal, viewable to anyone who visits that sponsorship page.
- Click Create
* Required fields
Let’s Get Social