REACH includes an integration with Zapier so organizations can easily and automatically share data between their favorite web apps.
Note: This integration is currently in the beta phase. It does require an account with Zapier. Zapier offers a free trial and a Starter plan that costs around $20/month. Learn how to begin using Zapier with REACH.
As a nonprofit, we know you use a lot of web apps. Use our Zapier integration to help ensure that any new data added to one app is also added to another.
Simply connect the apps you use with REACH through a simple authorization process. Then, build your workflows – called Zaps – in a few simple steps, to automate your tasks. There is no coding required!
Integrating with Zapier helps you to:
- Accomplish digital transformation goals for your organization. Share data to and from other web apps you use for your donor management, donation record keeping and communication needs.
- Save time and effort by avoiding hours of manual entry time. Automate your workflows using Zaps and there will be no more copying and pasting the same data to multiple apps.
- Give field admins with limited REACH access the ability to input or receive information into REACH without a login. For example, a field admin can collect data using a Google Form that is already automated within Zapier. The data inputted can then be automatically synced with REACH – without requiring the field admin to have access to any of your other REACH data.
Example Zapier Integrations
Here are some common web apps that are used to sync data with REACH using our Zapier integration.
- REACH + Constant Contact
- REACH + Eventbrite
- REACH + Google Forms
- REACH + Google Sheets
- REACH + Mailchimp
- REACH + Microsoft Excel
- REACH + Microsoft Teams
- REACH + Salesforce
- REACH + Slack
- REACH + QuickBooks Online
Note: For all apps and instances, you will need to already have the endpoint of your secondary app built prior to creating your Zap. This is so the data you’re syncing knows where to go. For example, when building a Zap between REACH and Microsoft Excel, you will need to already have your Excel spreadsheet built out as desired. This way, when building your Zap, you can choose the row or column to input your desired data.
Please keep in mind that Zapier is a third-party service. If you have questions regarding setting up Zaps or Zapier support, please check Zapier’s Help Center.
About Zaps
Within Zapier, you set up Zaps, which are specific triggers and their resulting actions.
Activity in one app triggers a resulting action in another app without requiring you to do any manual data entry work to keep your data in sync.
Once you have created a Zap, Zapier takes over and checks the trigger every few minutes for new data. When the Zap is triggered, it automatically performs the action, essentially moving the data between apps.
You’ll benefit from completed tasks that are automated without your involvement. These zaps will ensure the data you need is effortlessly and automatically shared from one app to the other, without any copying and pasting.
Starting Zapier and Adding REACH
To begin using Zapier and REACH:
1. Set up your free trial or start an account with Zapier.
Note: Zapier Starter plans costs around $20/month. There is not an additional fee within REACH to use Zapier.
2. Email us and include the email address you used for your Zapier account.
3. We will then send you an invite link for the REACH + Zapier integration to this email address.
This will allow you to use REACH as a trigger on Zapier.

Click on Accept Invite & Build a Zap to get started.
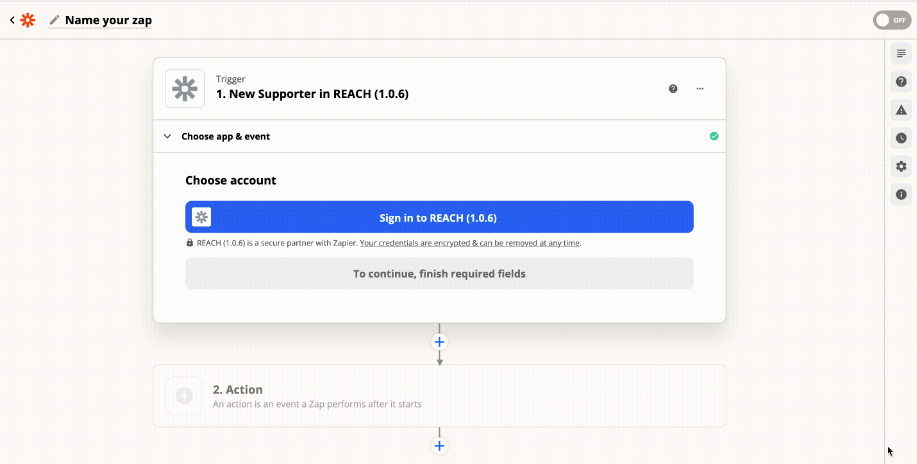
Before you add your first Zap, you will be prompted to connect your REACH account to Zapier and create a Zapier account if you haven’t already done so. Sign into your REACH account and then Authorize the connection.
Building Zaps
Once you have your Zapier account set up and the REACH connection authorized:
- Login to Zapier
- Click on Zaps > Create a Zap
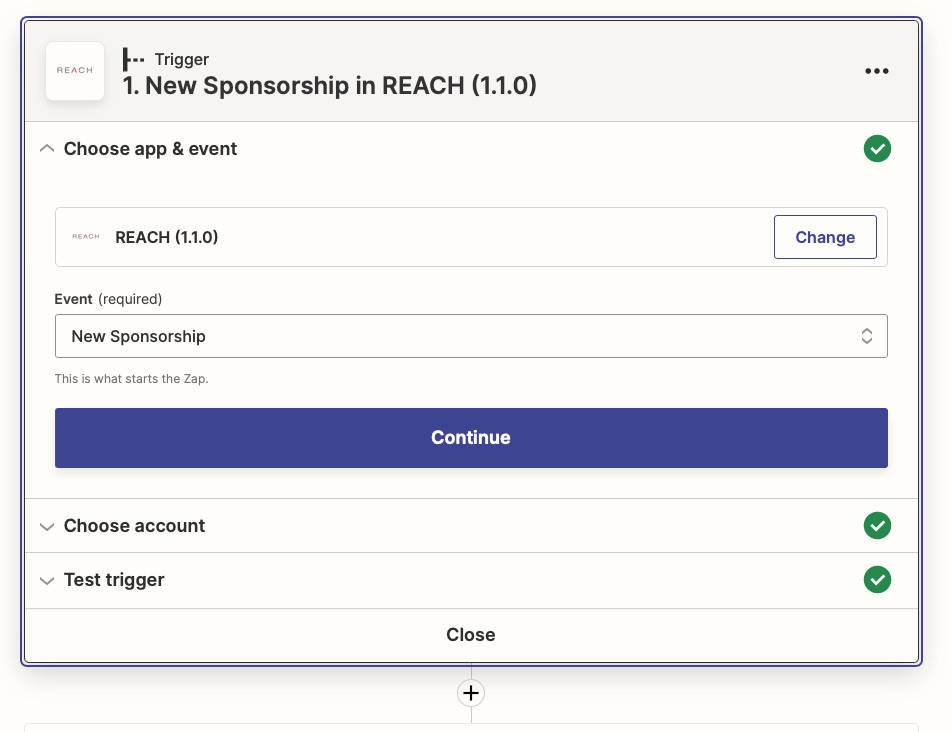
- Choose your Trigger app (REACH or the other app of your choosing)
- Set up your Trigger Event
- i.e. New Sponsorship or New Donation
- Select the personal account associated with the chosen trigger app
- Test your trigger
- Review the Example Record
- Next choose your Action app (REACH or the other app of your choosing)
- Set up your Action Event
- i.e. Create a spreadsheet row or Add a journal entry
- You will be required to select your account associated with the chosen app
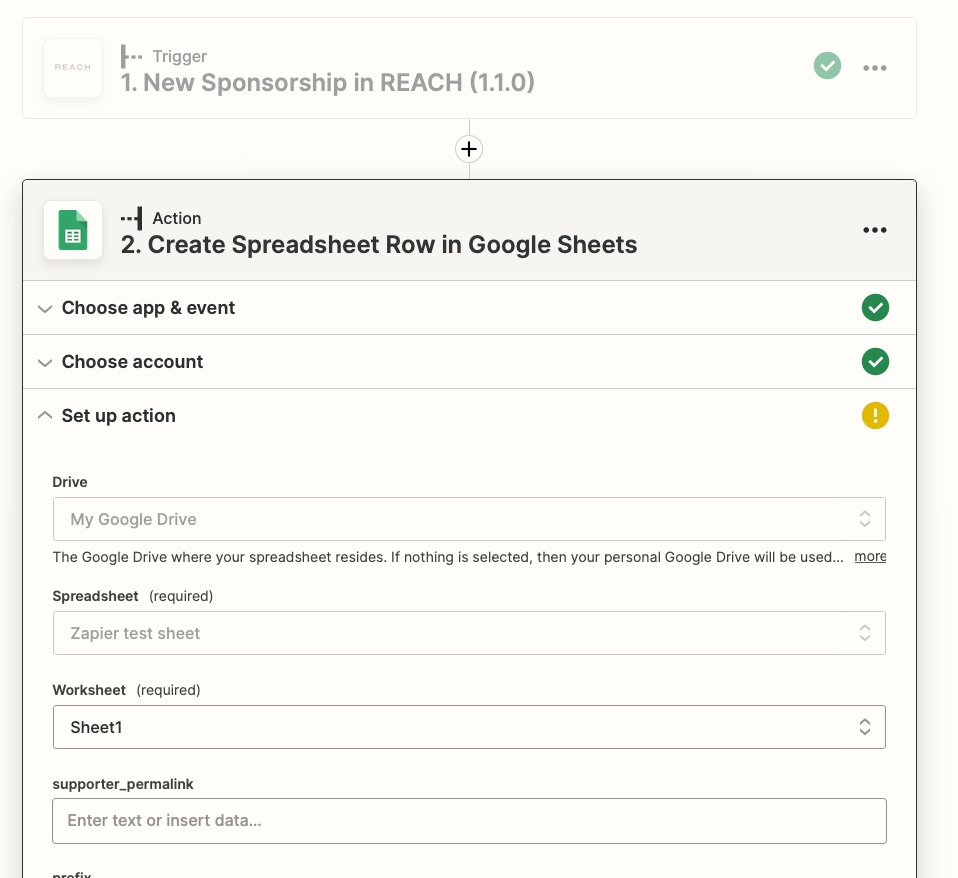
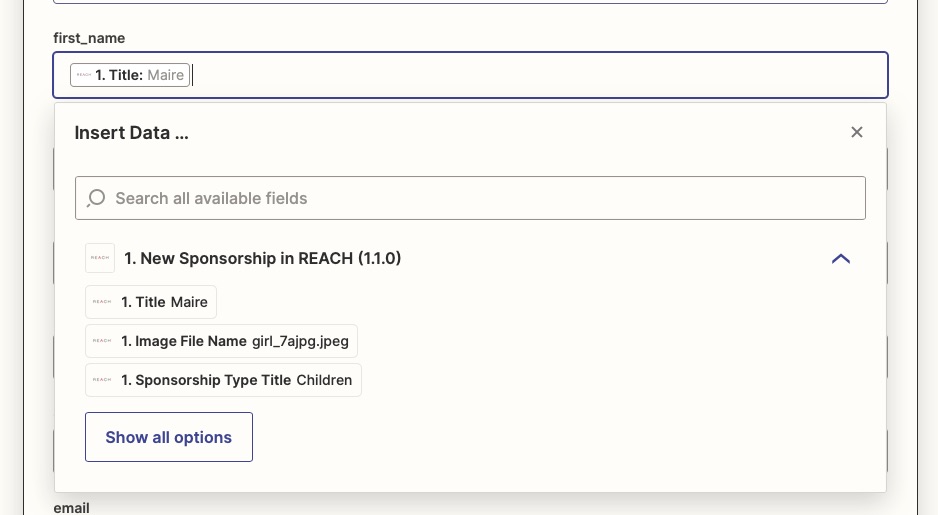
- Set up your Action by mapping your fields required – the field options will include the data in the fields from the Trigger test so you can review how it will be entered in the final test
- Test & Review your Action
- Complete and Publish your Zap
Reviewing Zapier Records in REACH
Any records that are shared between REACH and Zapier will be tagged Synced from Zapier.
To review these records, go to Reports, select your desired Report and next to Donation tags, Supporter tags, or Sponsorship Tags choose Synced From Zapier.

These records will then be included in your generated report.
Note: To learn more about Tags, visit our Tags article.
Revoking Access to Zapier
If you’d like to revoke access from Zapier to your REACH account, you can do so by going to Settings > Admin Users > Edit Admin Account and check the box to revoke access.
This will remove the authorization for that particular admin user.
Let’s Get Social